


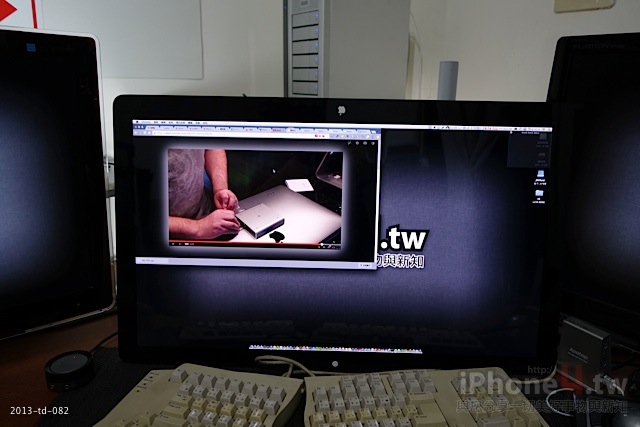
吉米一直是多螢幕的使用者
從早期那個追求映像管一定要特麗霓虹的17吋x3
一直到現在的27吋LED螢幕x3
螢幕越來越大,桌子越來越滿
這還併發了另外一個問題
那就是眼睛直視前方時,我看到的落點其實是我手指的方向
也就是說當我要看到螢幕頂端的系統列時,我需要「抬頭」,或是吊眼才能看到
看螢幕的時間越長,對於脖子、眼睛的壓力就更大
所以常常脖子會酸痛就是這個原因
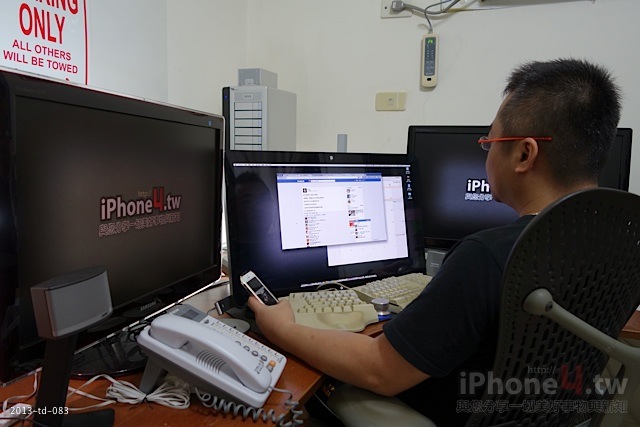
你們有沒有注意到我的桌面高度?
從鍵盤位置你們應該就可以知道,不是我坐的很高,就是把桌子降的很低,到達我手臂自然下垂,就可以敲打鍵盤

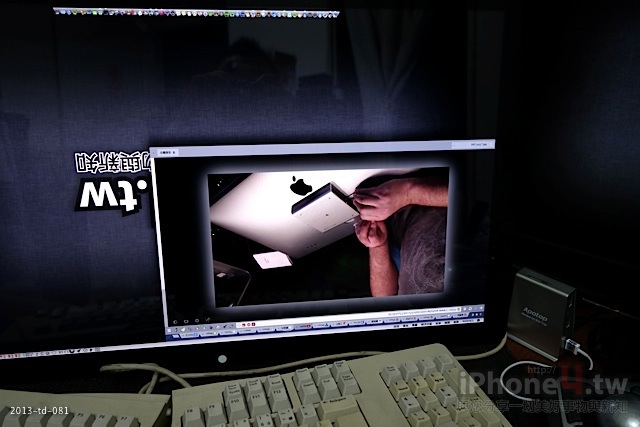
因此我就一直在研究怎麼樣把螢幕給降下來
尤其是我面前這個Thunderbolt Display
做功課
首先,當然先去了解一下自己螢幕的各項諸元
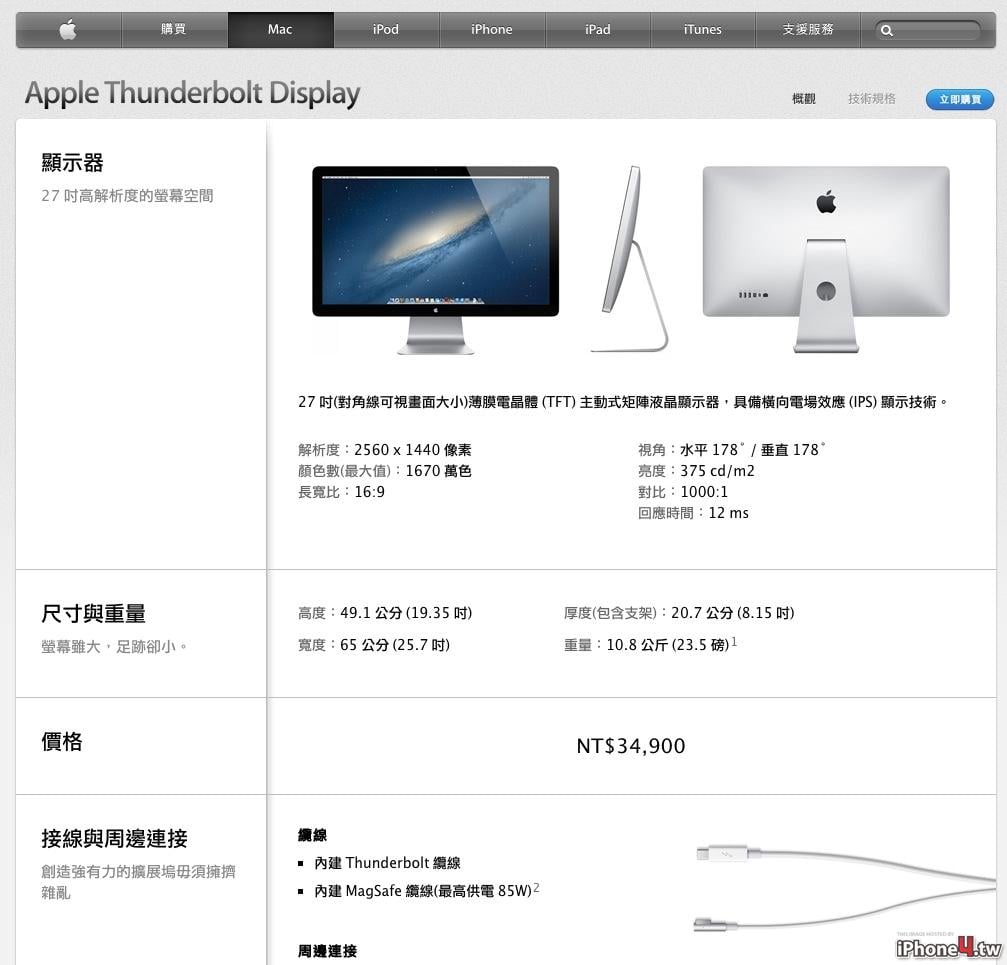
Apple Thunderbolt Display
http://www.apple.com/tw/displays/specs.html
我最主要想了解的是,螢幕到底有多重,這邊寫到是10.8公斤(含腳架)
知道螢幕的重量之後

因為我想要把螢幕腳架拿掉
但是我又不可能就這樣擺在桌上,萬一地震來了往後倒刮花背面不打緊
若往前倒摔到桌子下面弄破了螢幕,那我損失可大了
所以我要找個支架可以抓住它即可
選擇支架、旋臂
接著買東西我喜歡跟我自己的廠商交關
共存共榮嘛

再加上我還有這麼多海盜金幣可以拿來全額折抵金銀島消費,沒有任何滿幾百才能用幾元的限制
所以就在自己金銀島上面挖寶啦
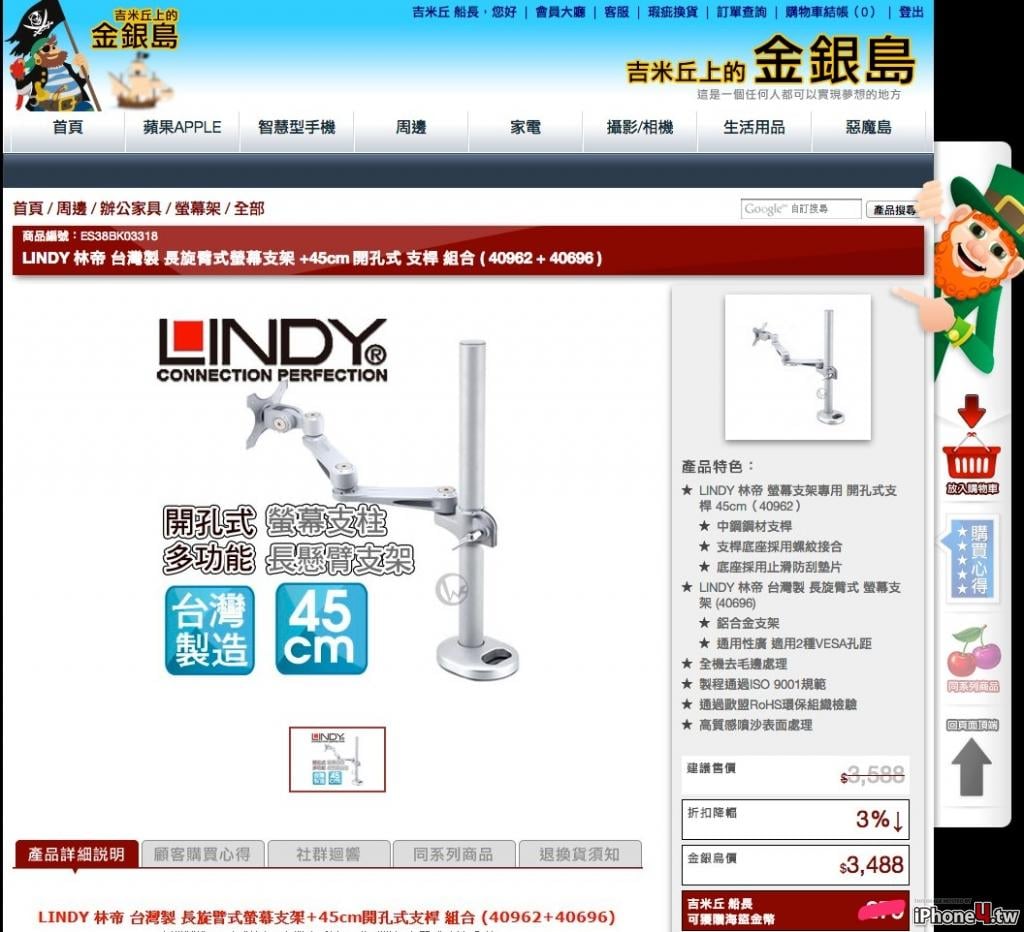
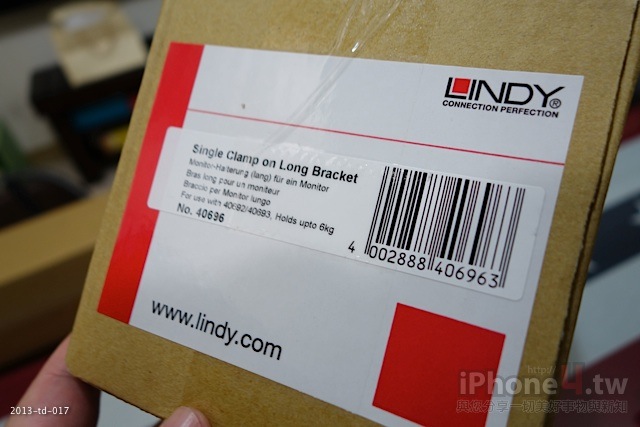
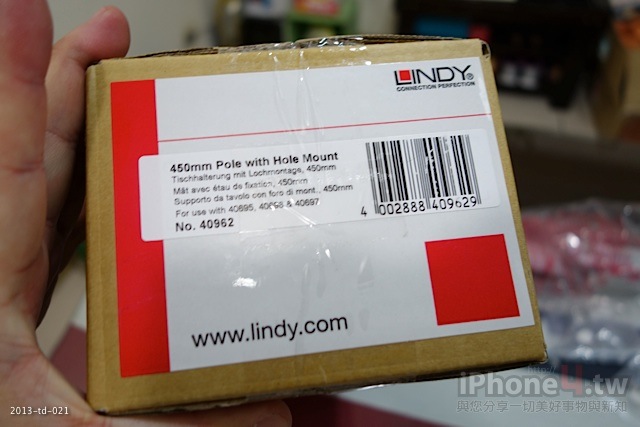
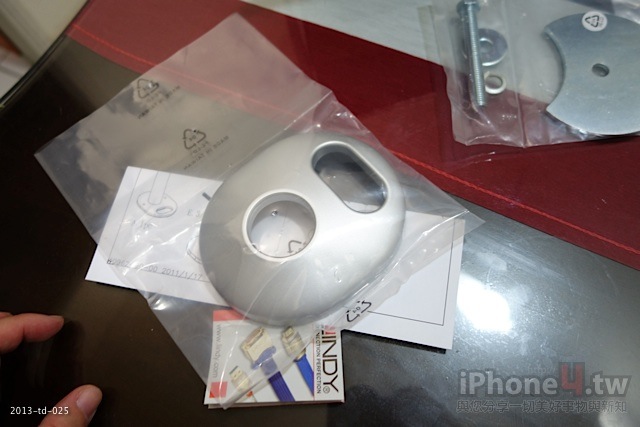
「LINDY 林帝 台灣製 長旋臂式螢幕支架 +45cm 開孔式 支桿 組合 ( 40962 + 40696 )」
最主要我選擇開孔式的原因是我覺得Thunderbolt Display這麼重,用C型夾的恐怕撐不住
所以不如用這種開孔上下夾攻的方式,我還比較放心些
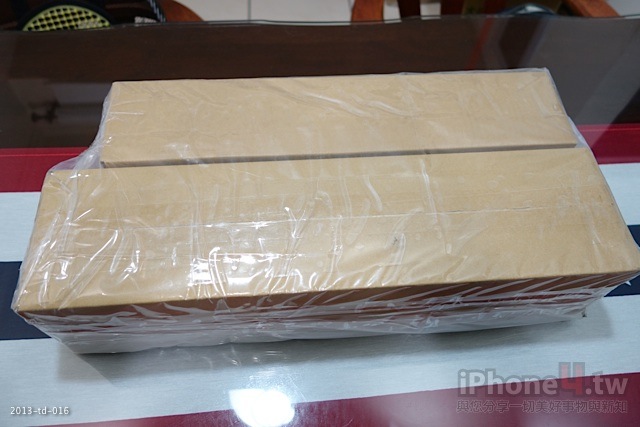
下訂後很快的我就收到了,過程中廠商還打電話來問我是不是在測試訂購系統
我說沒有我是真的需要用到
首先先來拆長旋臂
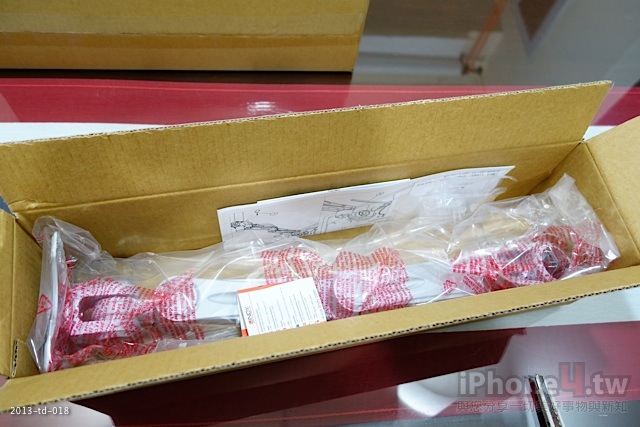
好扎實的重量啊,這樣我放心多了

長旋臂比較簡單,就一個長旋臂、一個扭力調整把手、兩個整理線材的夾具、四個螺絲,跟一個問號勾子(老實說我不知道這個要幹嘛用)
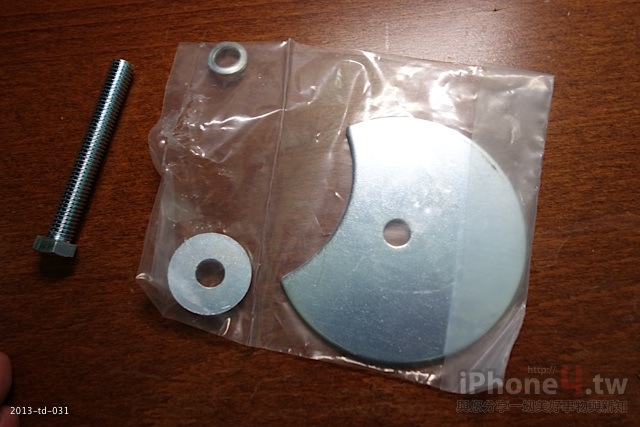
再來是開孔式支桿
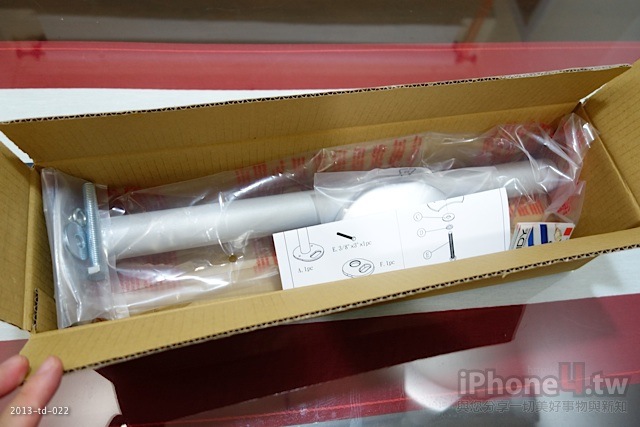
一樣很扎實,而且噴砂的感覺真棒~
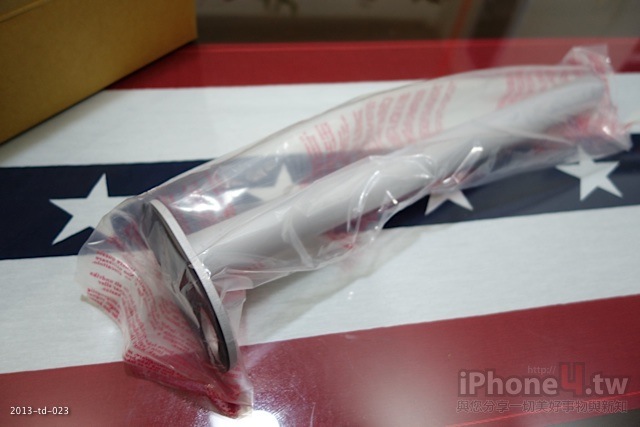
本體
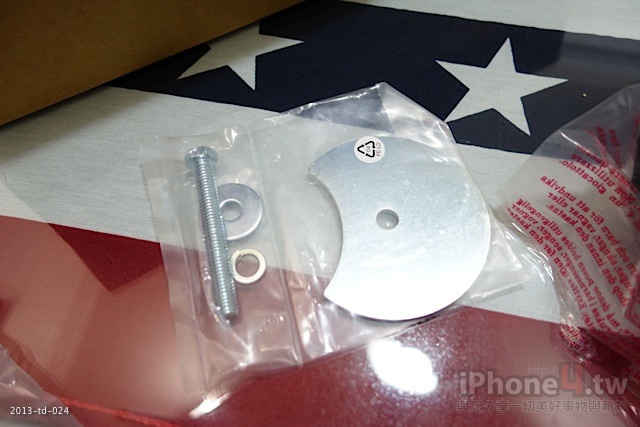
底部螺絲與底板
上蓋(塑膠的)
這樣支架就搞定了
購買VESA標準的螢幕支架
有了支架,總要有東西能夠「抓住」我的螢幕吧?
這時候很重要一個重點
現在很多螢幕為了輕巧,背後的標準VESA螢幕架的接孔全部拿掉了
所以選購螢幕時,若你未來有打算改變支撐方式,千萬記得要選擇有VESA的螢幕喔

因此我上蘋果官網購買這個套件「iMac 與 LED Cinema 或 Thunderbolt Display 適用的 VESA 吊架連接器組件」
相容性
可以搭配使用下列機型:
24 吋 iMac (鋁金屬與玻璃)
27 吋 iMac (2009 年末、2010 年中及 2011 年中)
24 吋 LED Cinema Display
27 吋 LED Cinema Display
27 吋 Apple Thunderbolt Display
有支援我的螢幕,立刻按下「加入購物車」囉
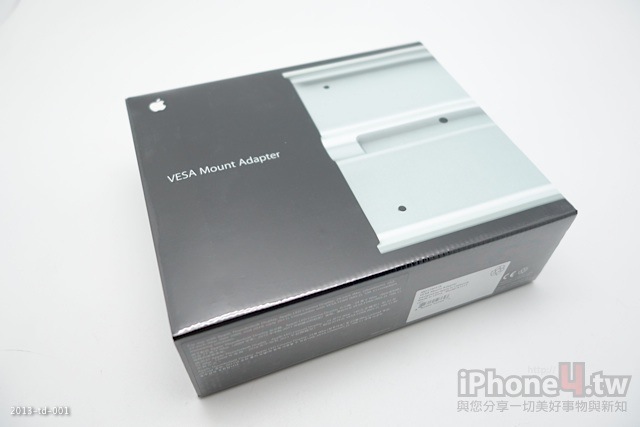
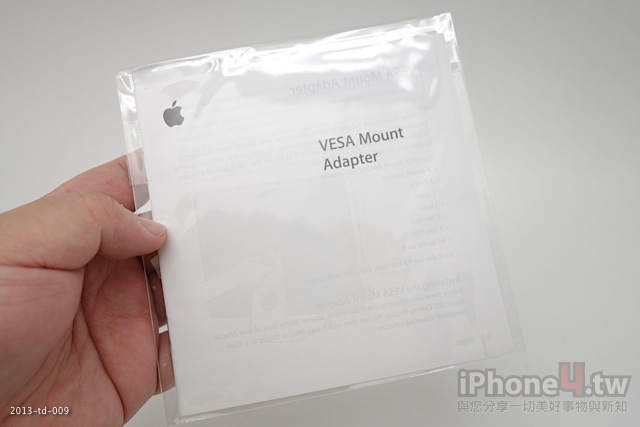
過了約三天還是四天,從新加坡寄來的這個 VESA Mount Adapter就到囉
這個套件也是沉甸甸的,很有質感

再次確認有支援我的螢幕,那就沒買錯啦

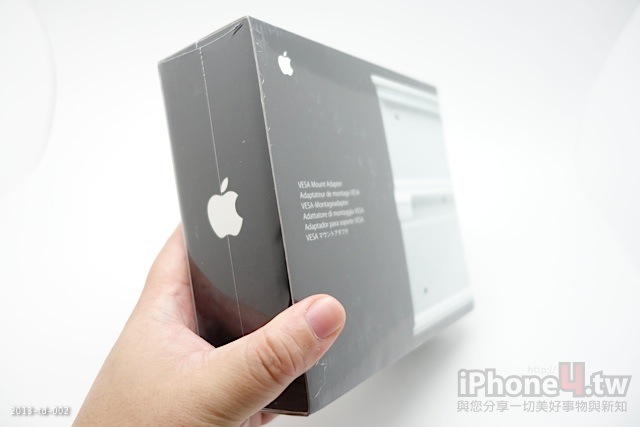
打開盒子依舊水果幫風格的產品包裝,簡單、俐落
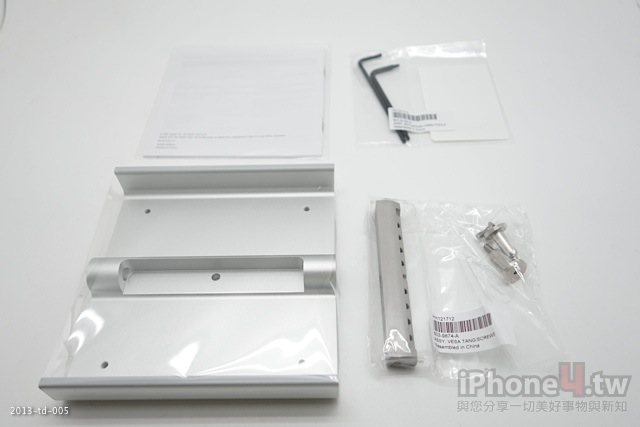
全部內容物一覽
有全鋁合金的VESA座,細緻的我看根本就是CNC車出來後再加工,超漂亮!!
兩支螺絲起子

橋接器跟三顆螺絲
VESA Mount使用說明書一本
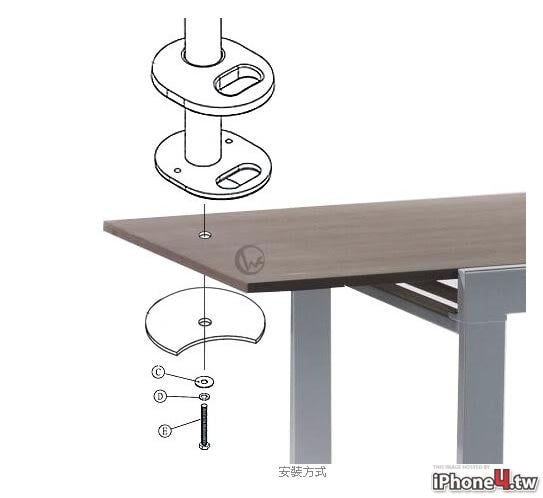
準備開工,安裝支架

開始之前,先來看看背後
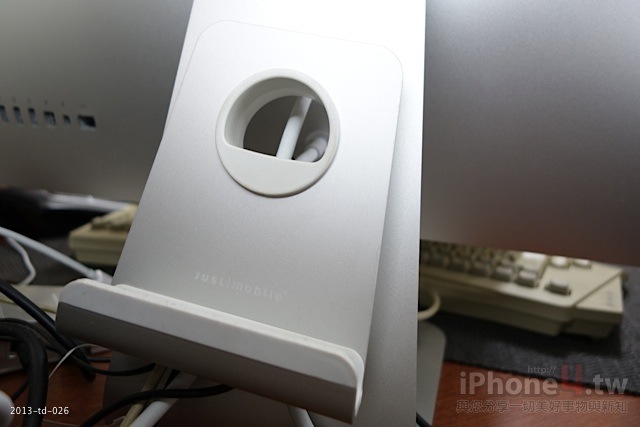
先把我的MBP15R從Thunderbolt Display後面的「Just Mobile AluRack 鋁質筆電置放架」移走
若你有iMac27,或是Thunderbolt Display
而後面想要放你的MBP或是MBA的話,這是最棒的選擇喔
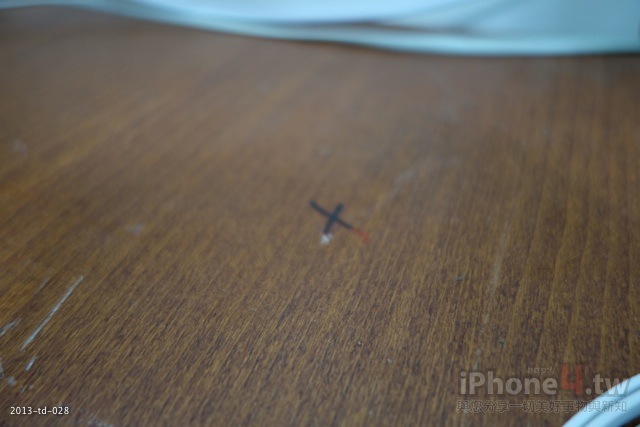
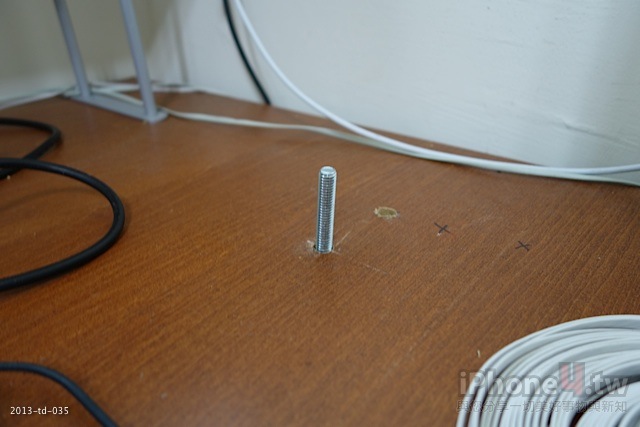
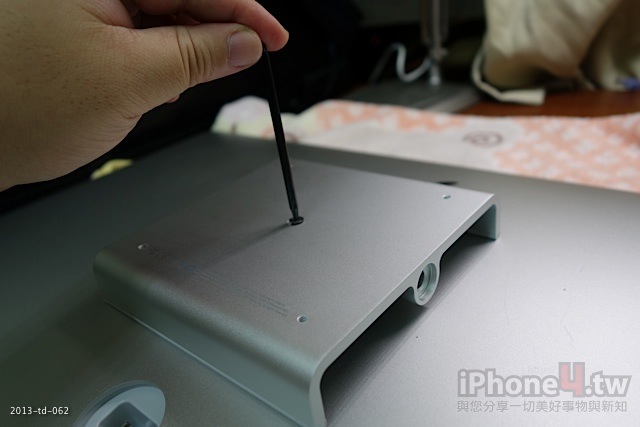
接著在桌子上面畫好我要磚鑽孔的位置

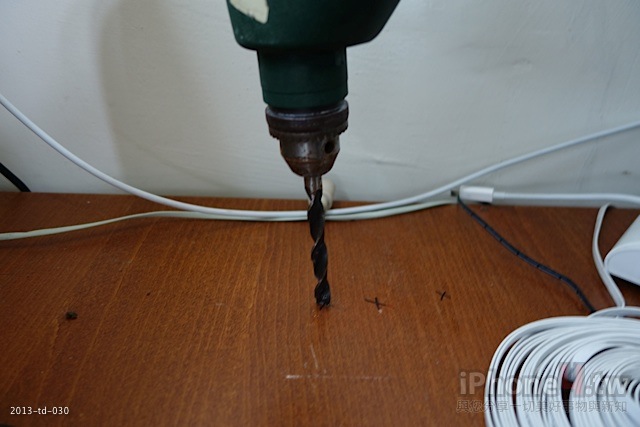
拿出準備要鎖的螺絲,看起來要用木頭鑽頭
你看看,人算不如天算,比對了好幾次,前後選了三個目標
另外兩個都不行,下面有桌子的結構,所以就鑽這個吧
底板也準備好了

開孔式支桿也準備上線了
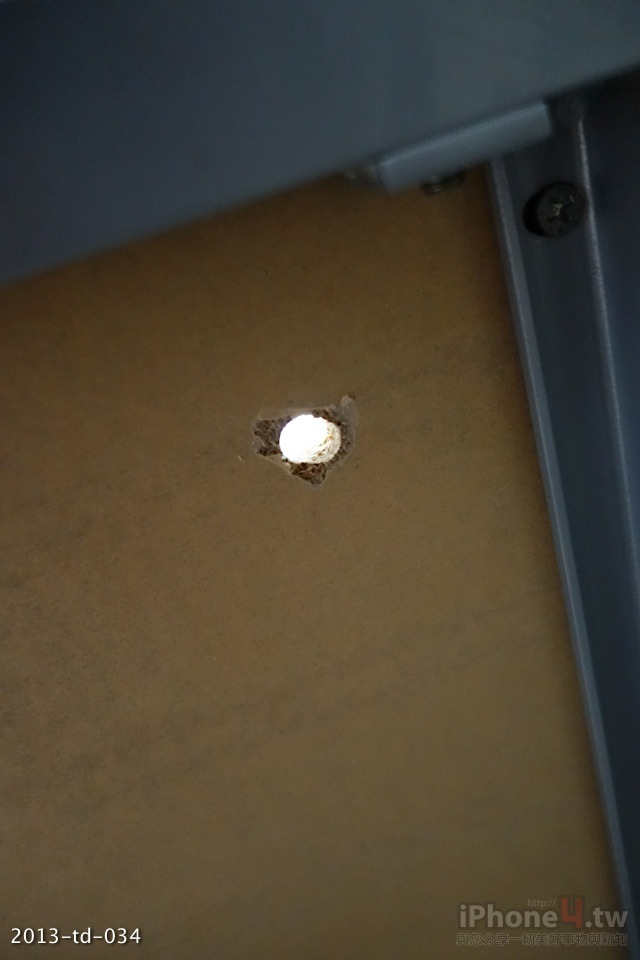
終於鑿開了...
氣人的是,這是第二個孔!!

第一個孔還是鑽到桌子的支撐結構鋼樑了...

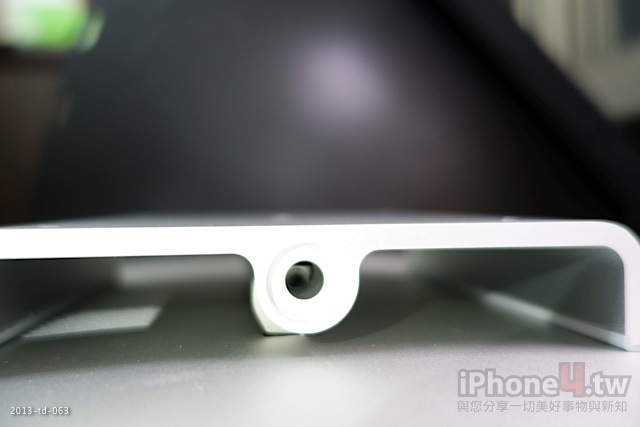
接著照著說明書,把底部螺絲加上底板從底部推上,上方則是將支架本體旋轉鎖上即可

鎖緊之後,底部在用板手加強一下就完成了
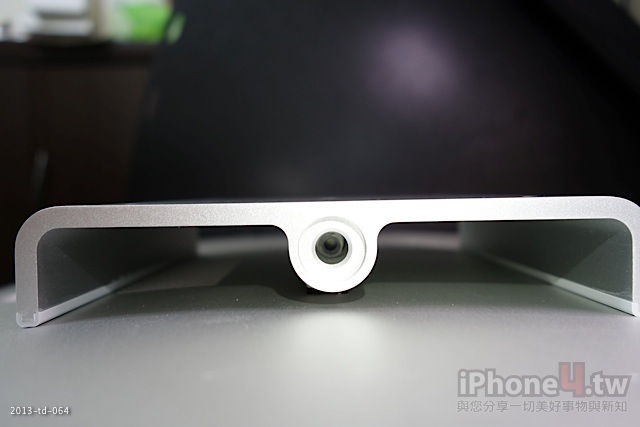
放上塑膠飾蓋,就完成這部份的安裝了
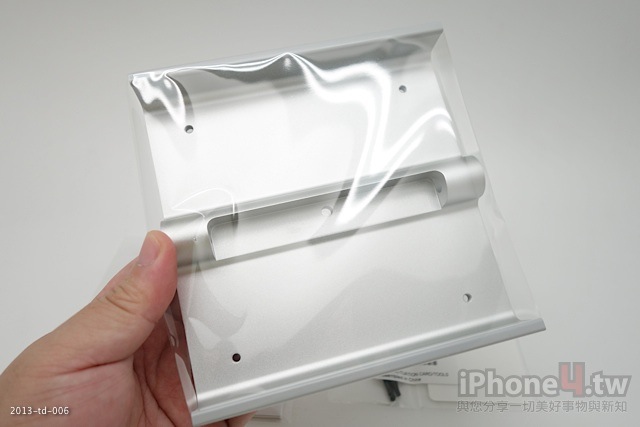
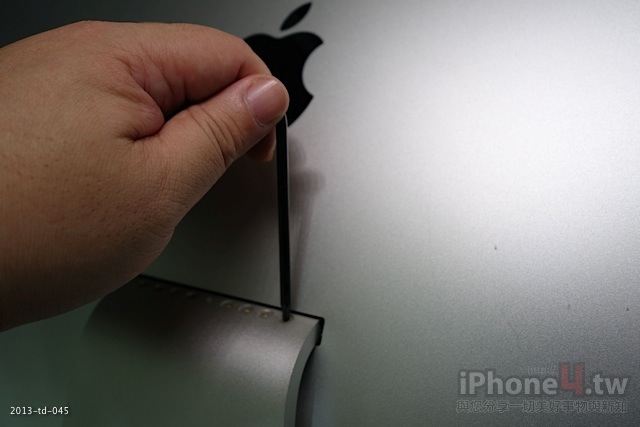
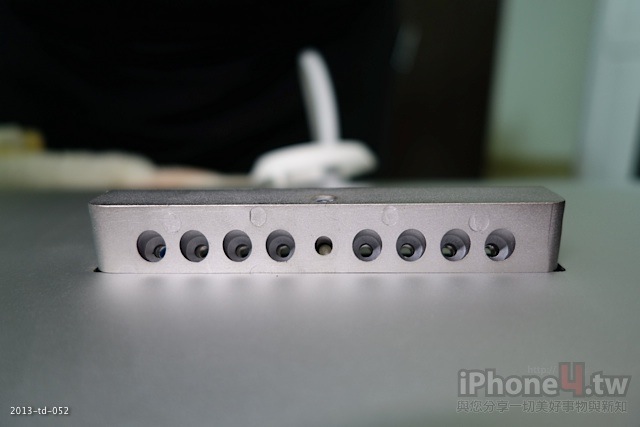
拆解Thunderbolt Display的底座
先找個軟質的東西來保護螢幕,當然棉被是最好的啦

拿出搭飛機來台灣的VESA Mount Adapter
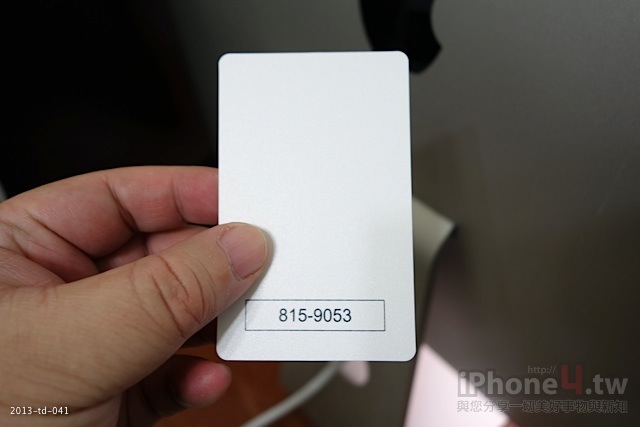
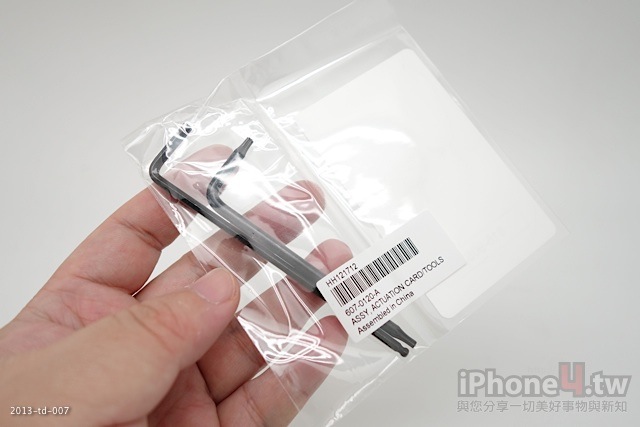
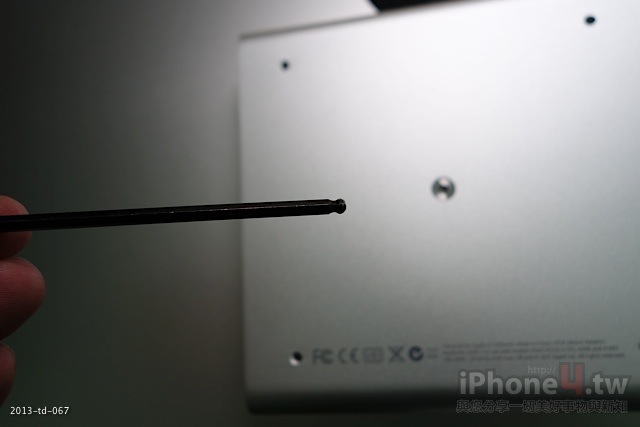
裡面有個很重要的卡片,叫做「退出卡」

你要先把螢幕放著,然後往前低頭到底,接著把這張卡插入往上頂約1.9公分(若超過此深度表示做錯了)
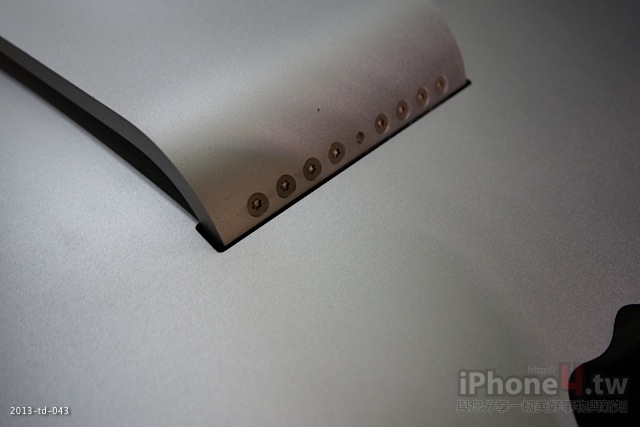
正確插入之後,這8顆螺絲就會外露出來
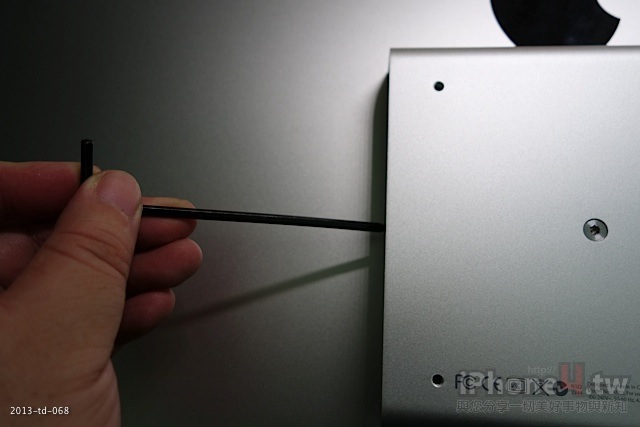
我們就可以拿包裝內的星型螺絲起子來拆螺絲
要有耐心!! 要有耐心!! 八顆螺絲搞我好久,我只好催眠自己,我是在清理V8的活塞,V8的活塞...
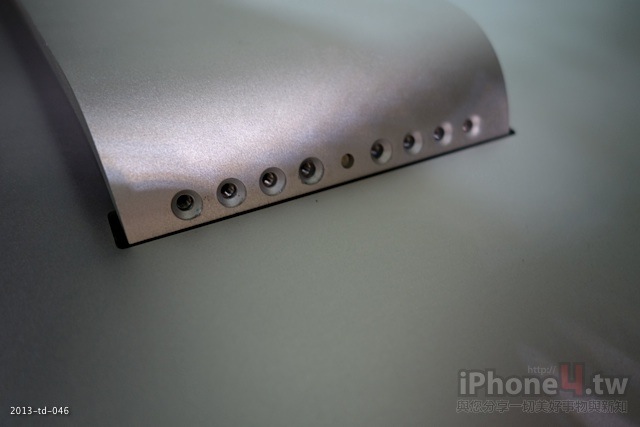
8顆螺絲都拆開後
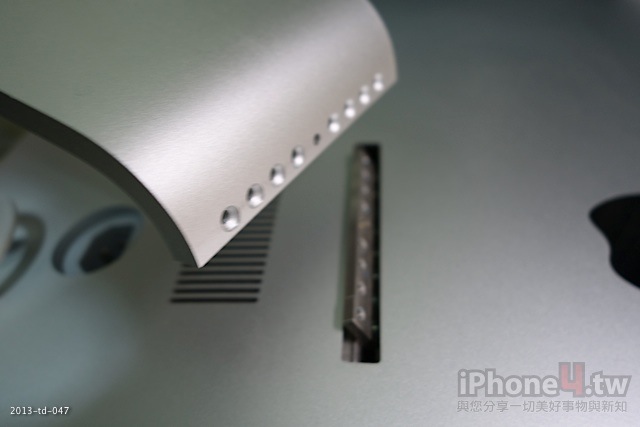
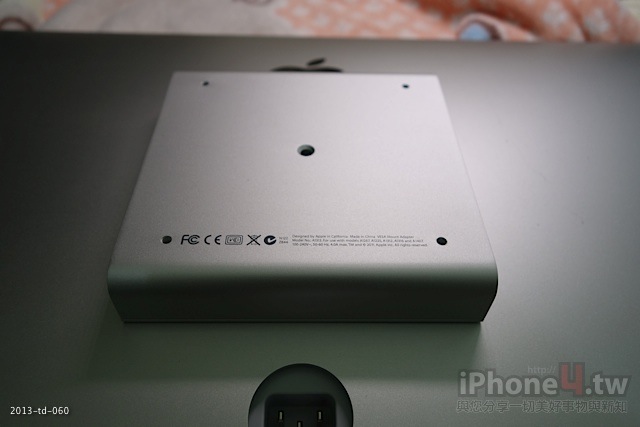
就可以拿掉底座啦
我後來量了一下,底座全部鋁合金製成的,重達1.26公斤

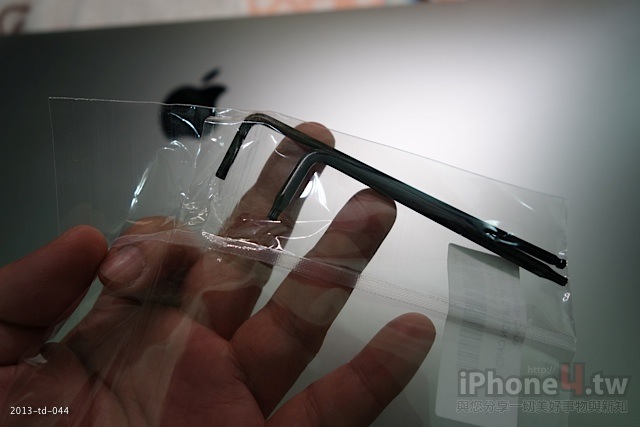
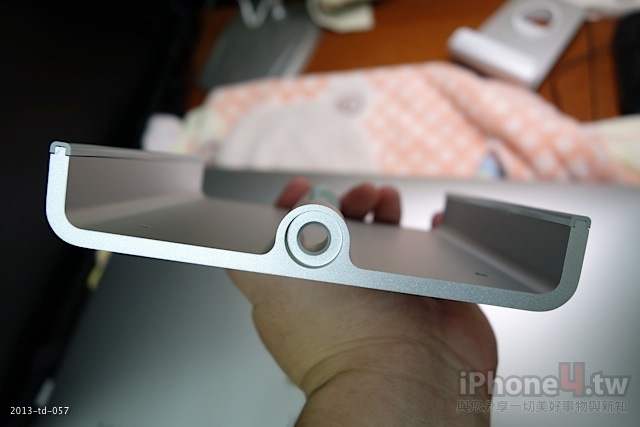
接著拿出接環包
這個接環一定要正確角度喔
看清楚,就是這個角度,右邊是螢幕頂端
由上往下看是這樣
可以再把8顆活塞給裝回去,我何時才有V8引擎啊....

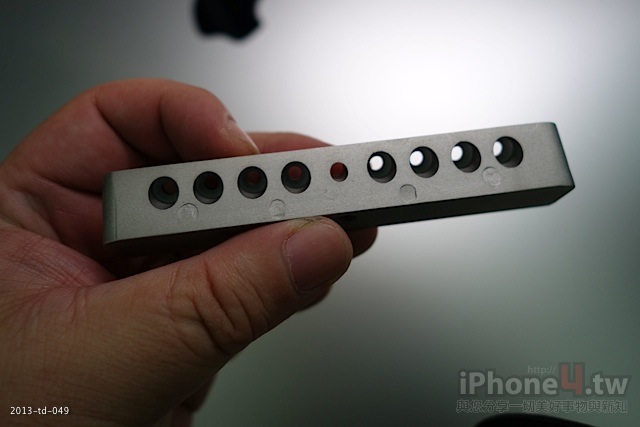
主角準備出馬

我就說這簡直就是整塊鋁合金去CNC出來的,超級漂亮,超級細緻!
簡直就像MBPR的背蓋一樣

而且很厚,非常有質感
看到與螢幕接合處還有塑膠防刮墊片了嗎?
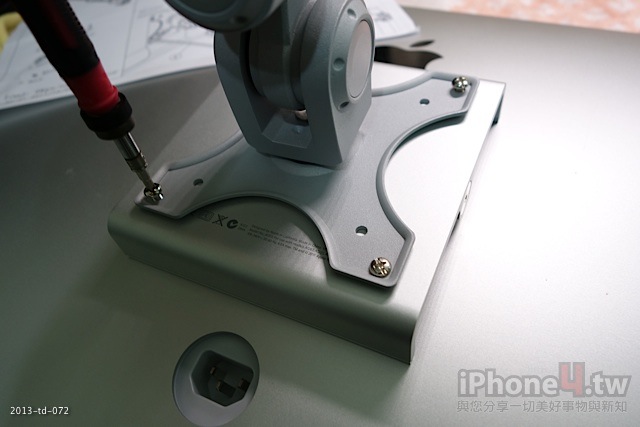
放上去準備鎖螺絲
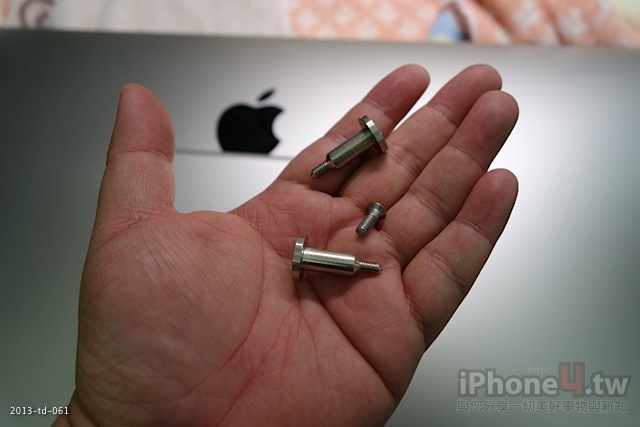
零件包裡面最後的三顆螺絲
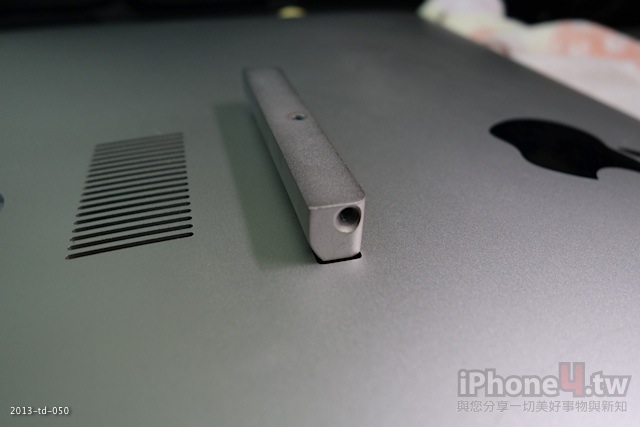
一開始一定要先鎖這棵螺絲
鎖好之後你會發現,奇怪旁邊的兩個螺絲怎麼鎖不上去,因為螺絲孔根本還沒到正確的位置呀!

這時候請把螺絲起子改成長邊,大力矩的方式「繼續」再鎖緊中央的這棵螺絲
直到中間這個鎖孔到達正確位置在停下來

若到達正確的中央位置之後,這兩側的螺絲可以輕易的用手指頭轉入
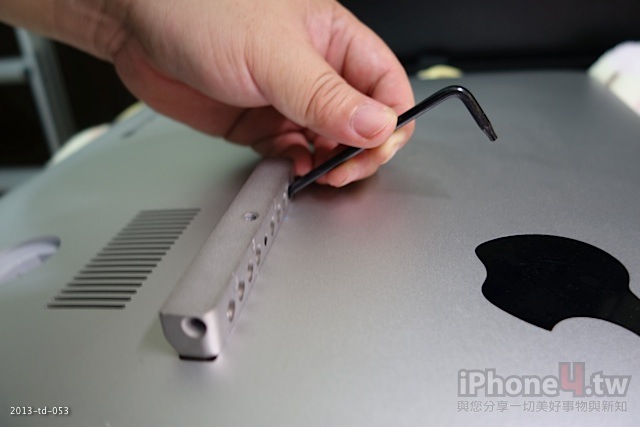
最後再拿出內附的六角板手
把螺絲鎖緊即可
接著來鎖長旋臂啦
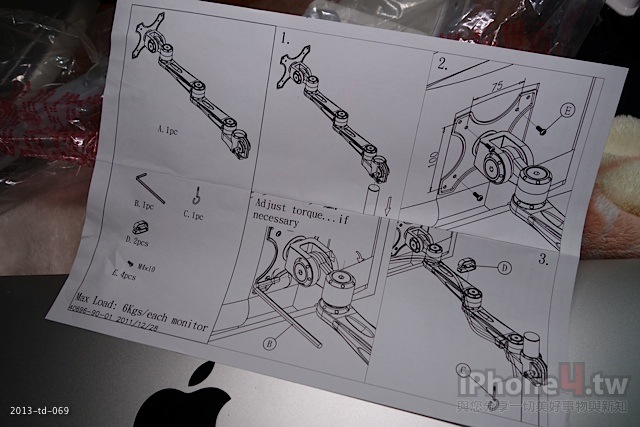
先拿出說明書來複習一下,看起來這部份也很簡單安裝

拿出螺絲包,裡面有四顆螺絲
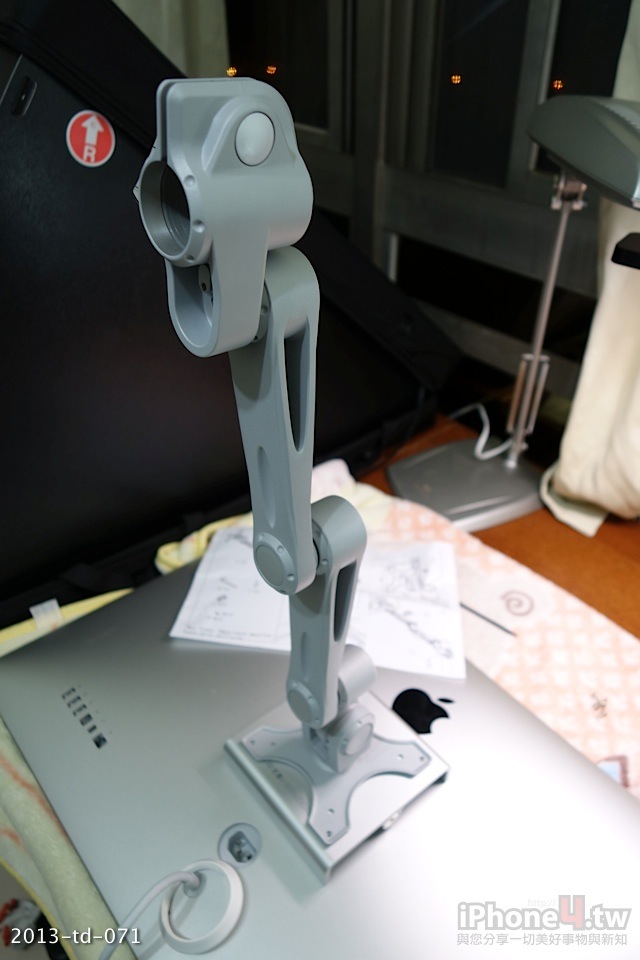
把長旋臂放到正確位置
鎖上螺絲
由於VESA有100mm與75mm兩種格式的螺絲鎖點,我們這個是100mm的,所以都鎖最外圍的四顆即可
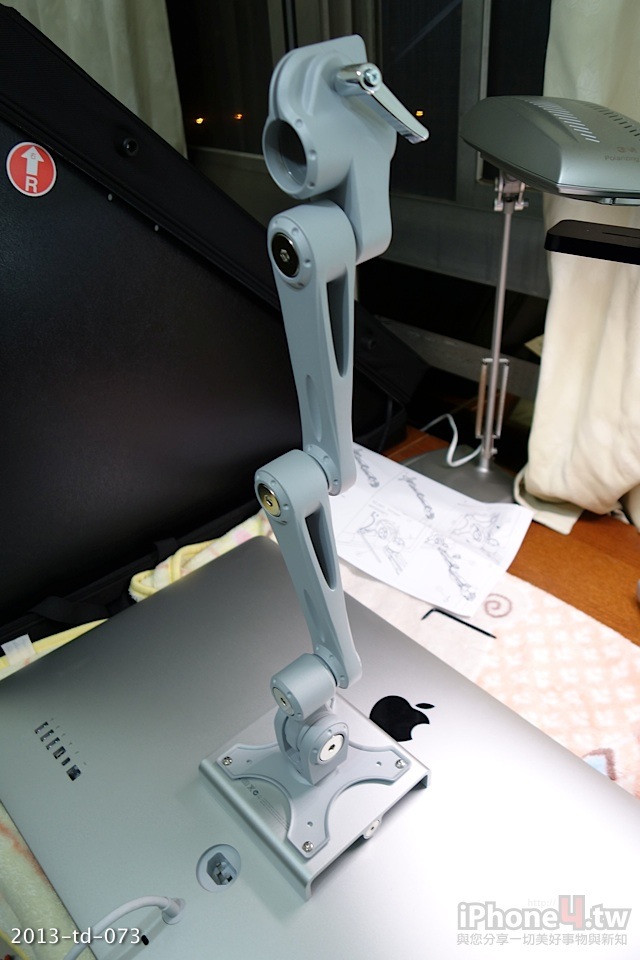
完成囉~
準備合體
再次來把桌面整理一下

接著把長搖臂放入支架中,再把螢幕放到自己喜歡的位置
眼尖的夥伴應該有發現一件事情
蘋果怎麼在上面,吉米你裝反了啦!
其實我是故意的,因為我不想讓它騰空,我想要讓它就「放在桌子上面」
但是大家要記得iMac、Thunderbolt Display都是一樣的,那就是散熱出風口在下方
所以吉米上下顛倒就是為了散熱
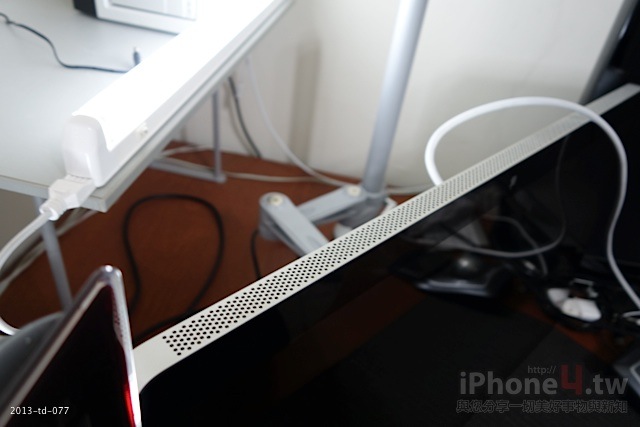
兩邊都是喔,千萬不要把它給封死了

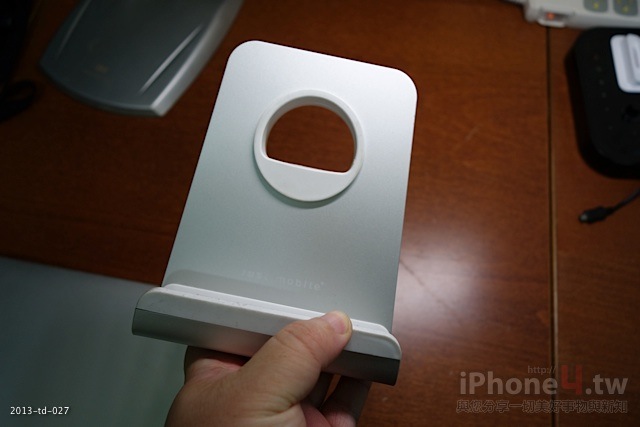
接著拿出從金銀島挖回來的第二件寶物「Just Mobile AluBase 鋁質筆電桌上立架」
既然我剛剛把螢幕後面放MBP15R的架子拿掉了
所以我得幫我的MBP15R再找一個新家
我這邊故意把支架轉成一個倒L型,因為左邊我要放我的MBP15R呀
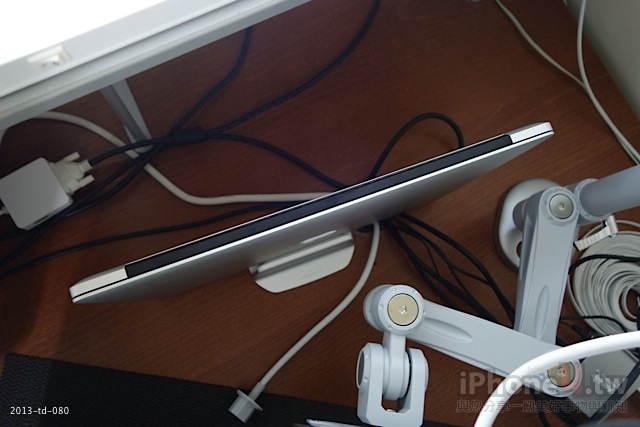
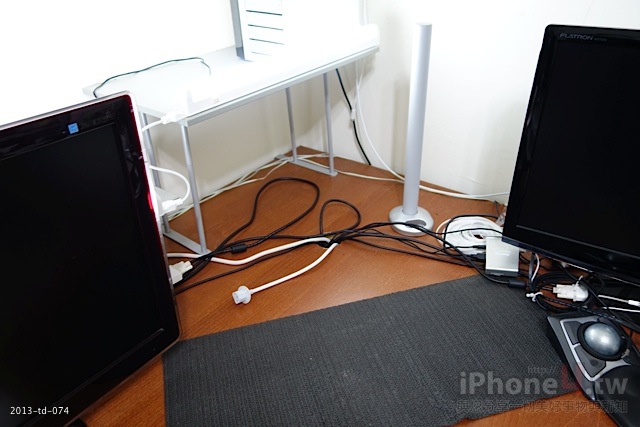
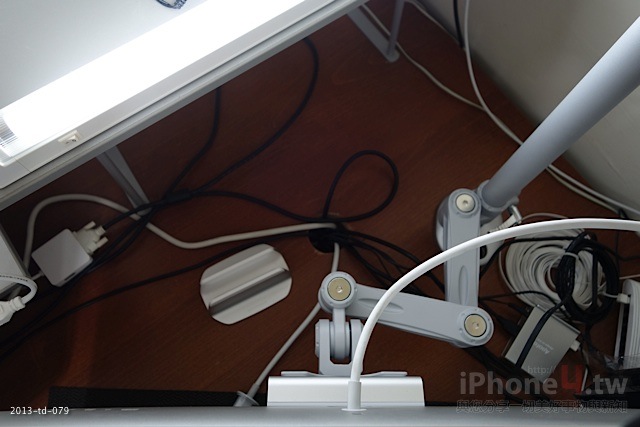
好,MBP15R就定位,就可以開始把所有線材給接回去了
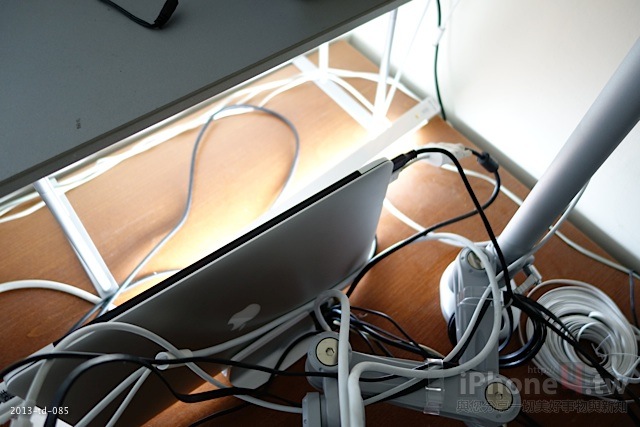
線還是很多的...
開機測試,不用想也知道,螢幕當然是上下顛倒的啦
不要緊張
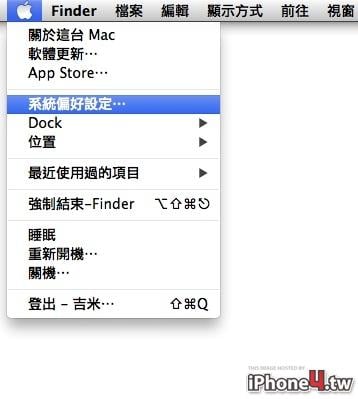
到「系統偏好設定」裡面
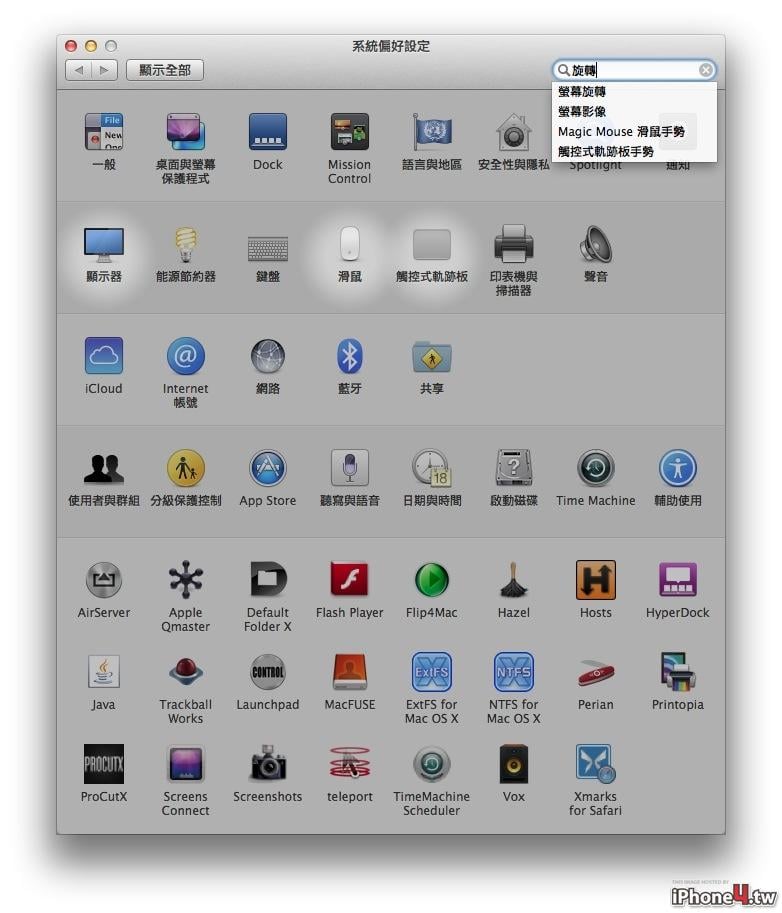
選擇「顯示器」
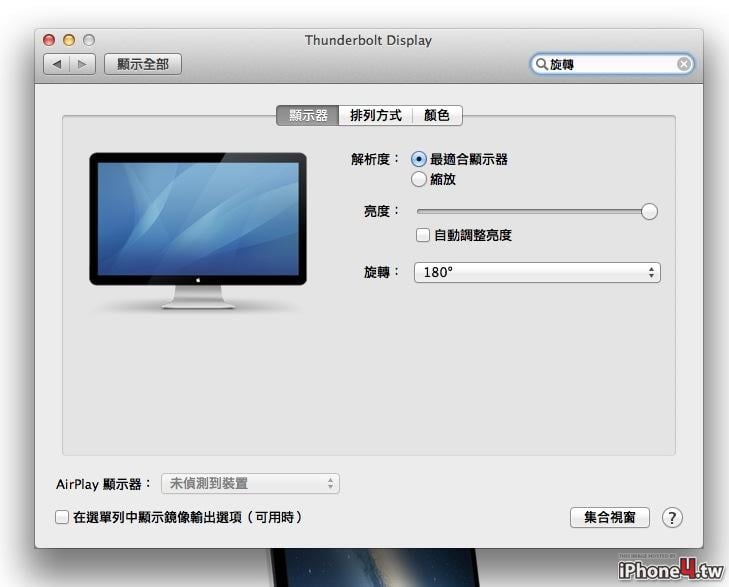
接著在「旋轉」這邊選擇「180度」
搞定收工
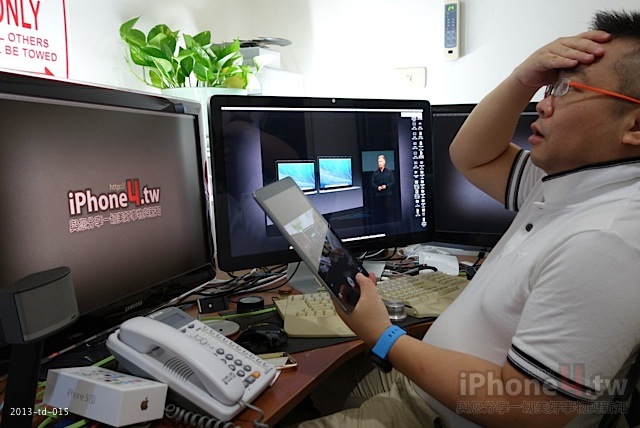
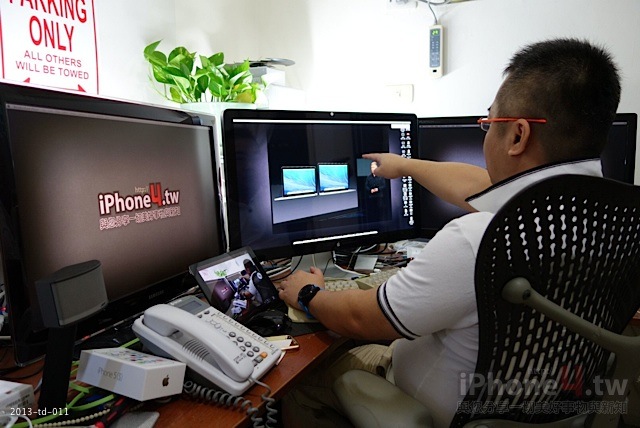
再來測試一下坐姿跟眼睛平視時的高度
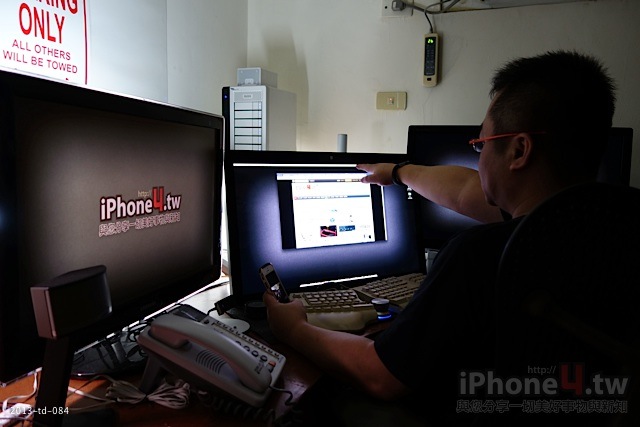
耶!太棒了
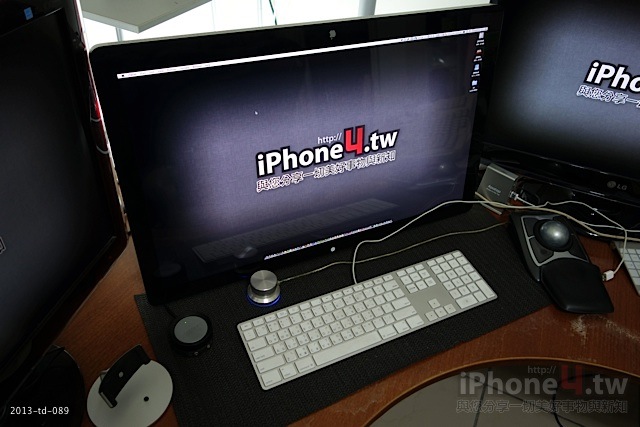
超大27吋筆記型螢幕完工

裝好之後突然發現我其他兩個螢幕好高喔
害我想再去訂兩台Thunderbolt Display,並且再加上兩組支架把它們都降到最低...
吼... 好讚啊
總結
用螢幕支架的好處就是可以隨自己需求去調整角度、高度
目前這是我設定的高度與位置
若未來覺得太低,我還有機會可以慢慢調整往上升高
這樣不是很棒嗎?
使用前
使用後
實際使用三小時之後,我發現有點太低了,所以我又把它提高些

再用六角板手把這個關節的扭力給加強鎖緊一下,就搞定囉

 回覆時引用此篇文章


很棒的音樂app - 聽免費的音樂
21 小時前 進 AppStore 軟體推薦區